Step by Step:
Our Official How-To Guide to Apply Nova Nail Gel Stickers
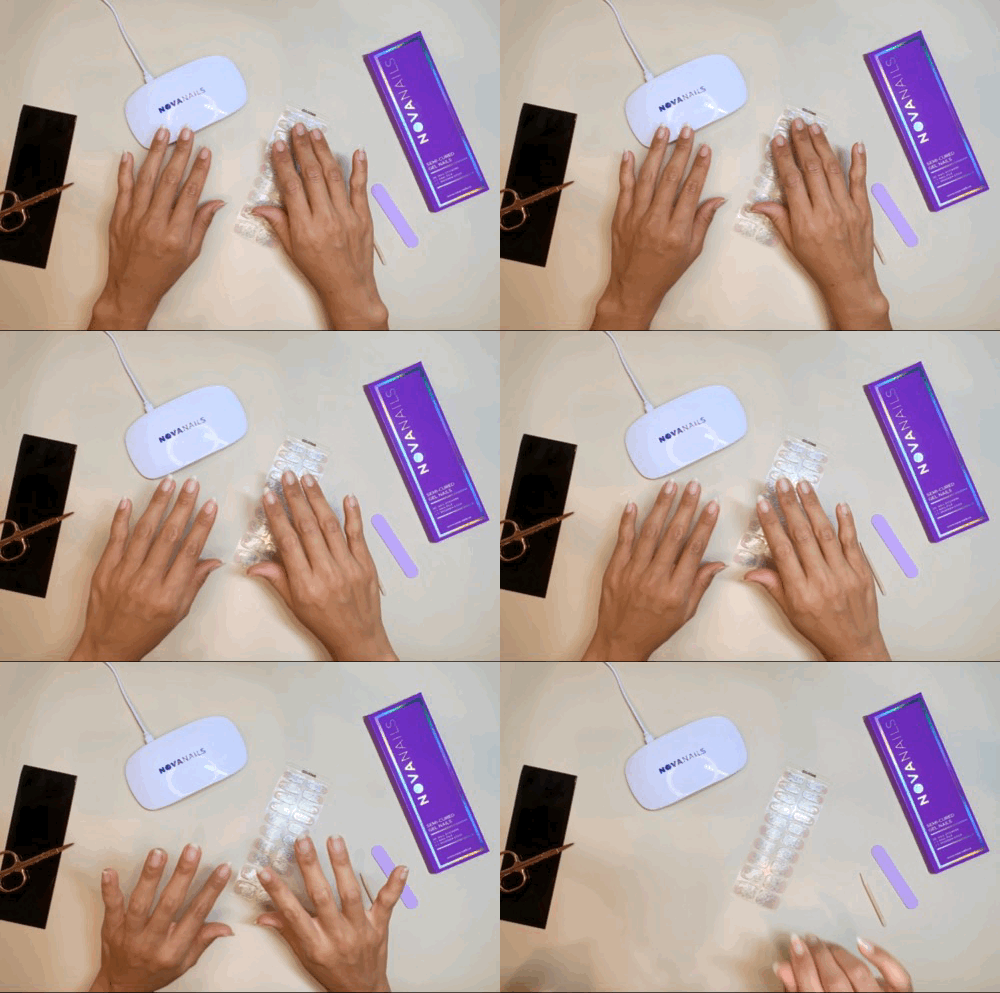
1. Prep your base.
Shape your nails with a nail file and clean cuticles as desired. Prepped nails will give you better, longer lasting results!
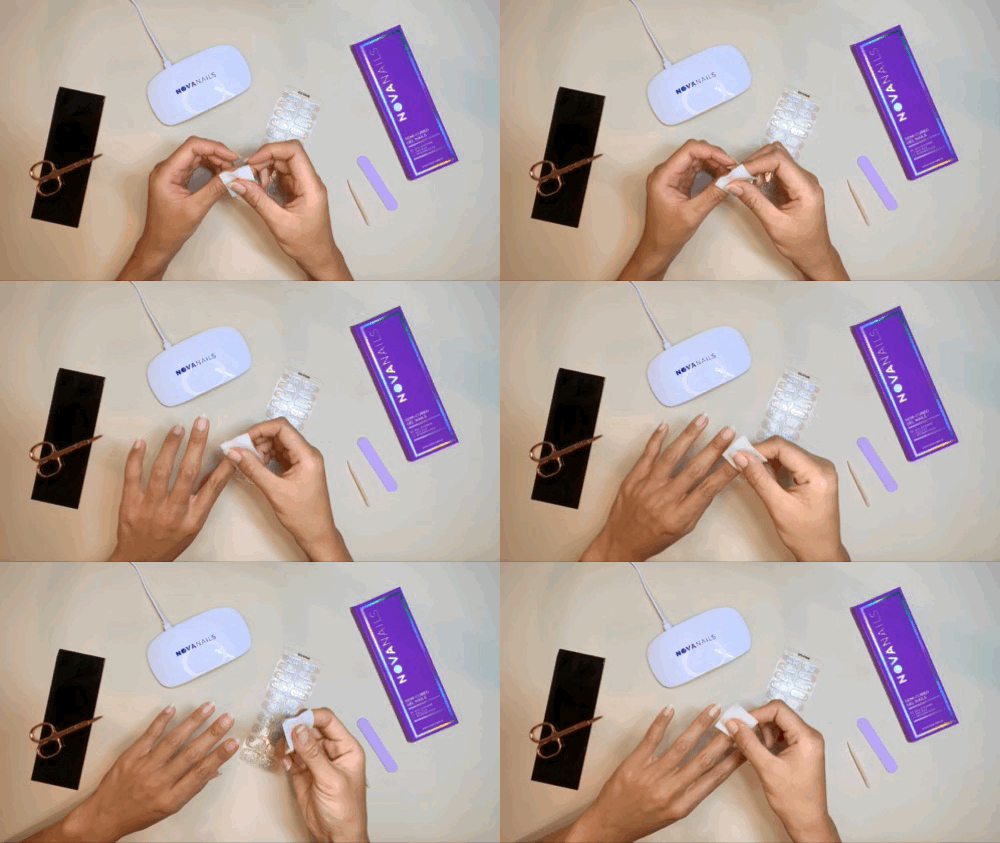
2. Start with clean nails.
By washing your hands thoroughly. We recommend starting with dry, oil-free nails by removing washing and drying your hands thoroughly, or using an alcohol pad to clean all over the nail and wait until dry.
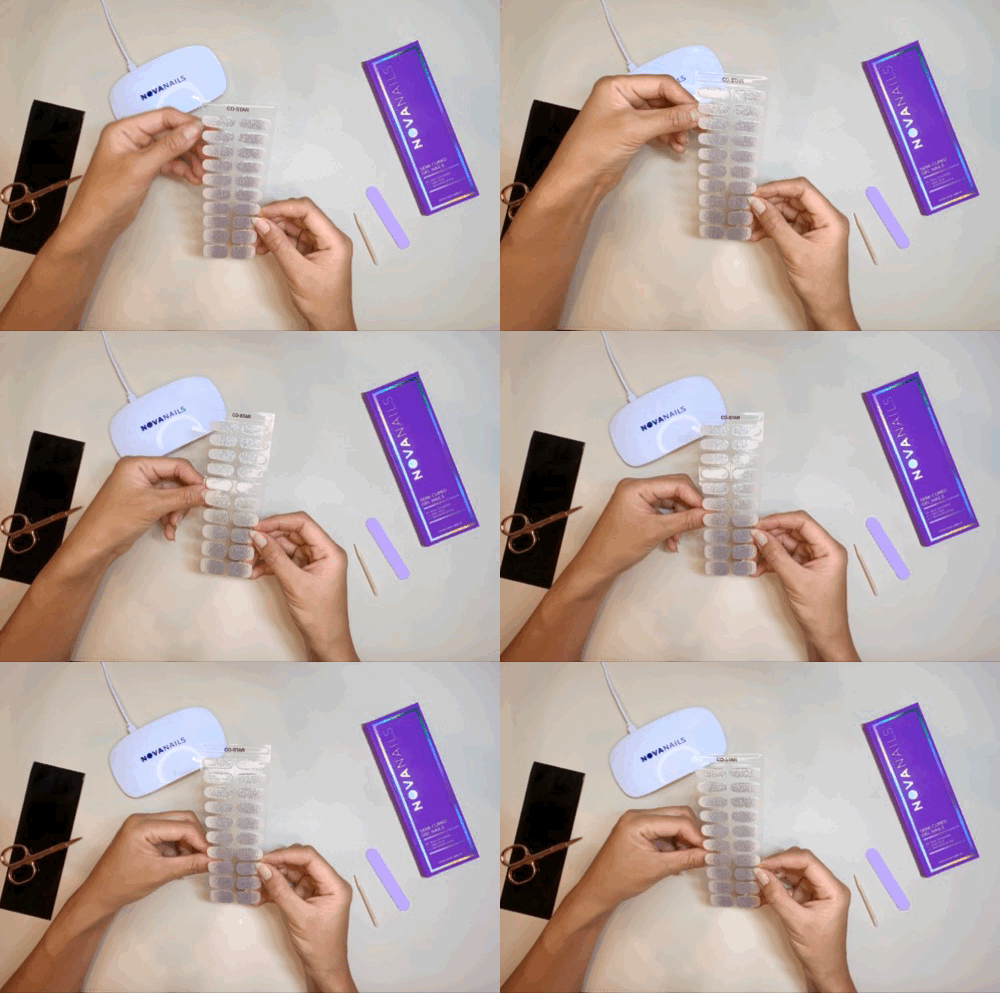
3. Find the right sticker!
Hold up the nail sticker sheet to your hand and choose a sticker that matches your nail size.
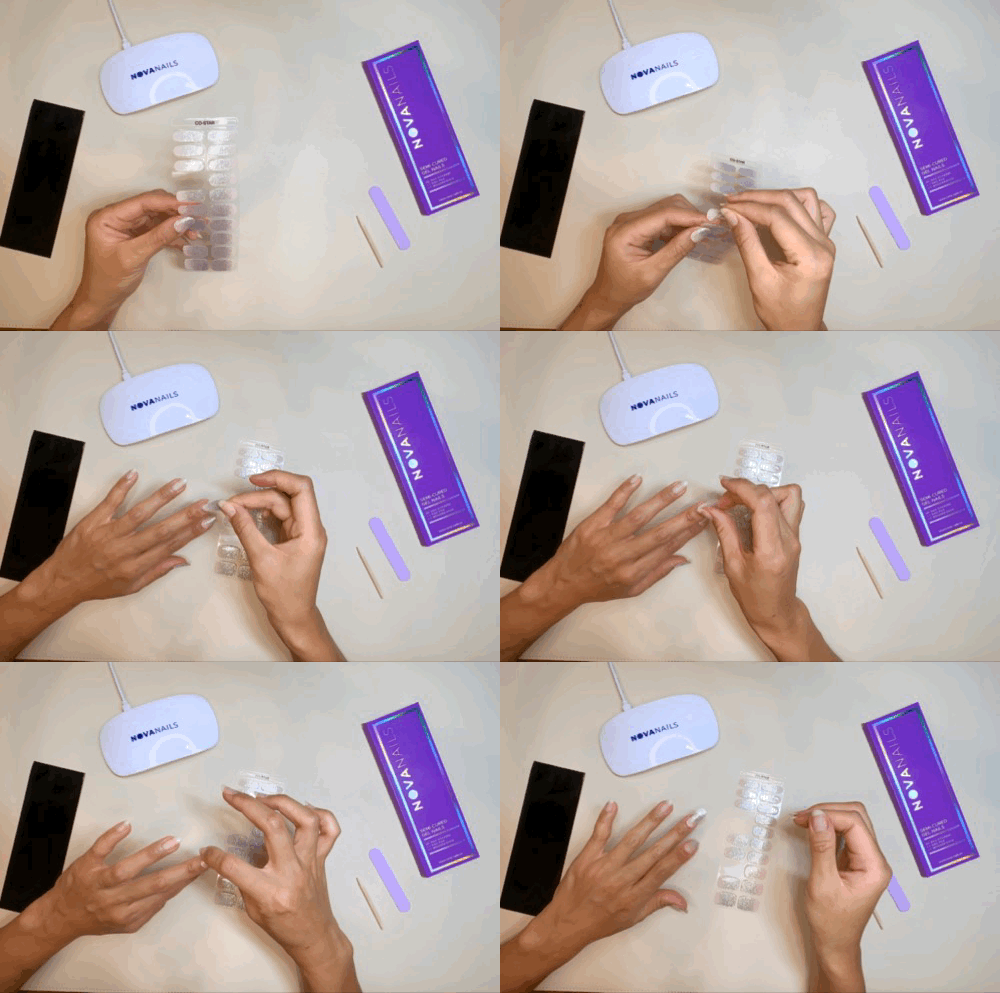
4. Apply the sticker to your nail.
Remove the protective film and apply the sticker to your nail. Press down firmly to seal the edges to your nail. Avoid any overlap with your skin or cuticle by sizing down slightly if you're in between sticker sizes. Our stickers do stretch a little!
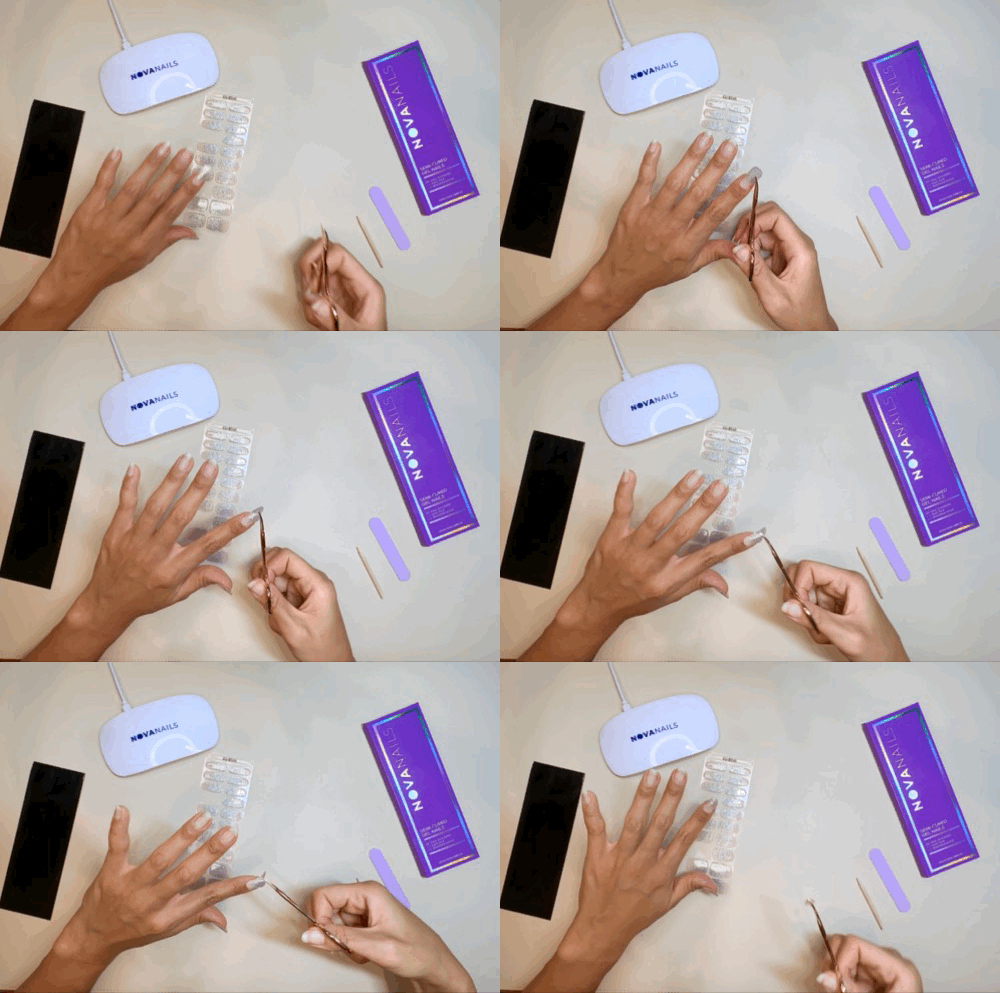
5. Trim the sticker.
Trim the end of the sticker using a nail clipper or cuticle scissors, or fold the sticker over your nail edge and use a nail file to file downward at a 90 degree angle to remove the excess.
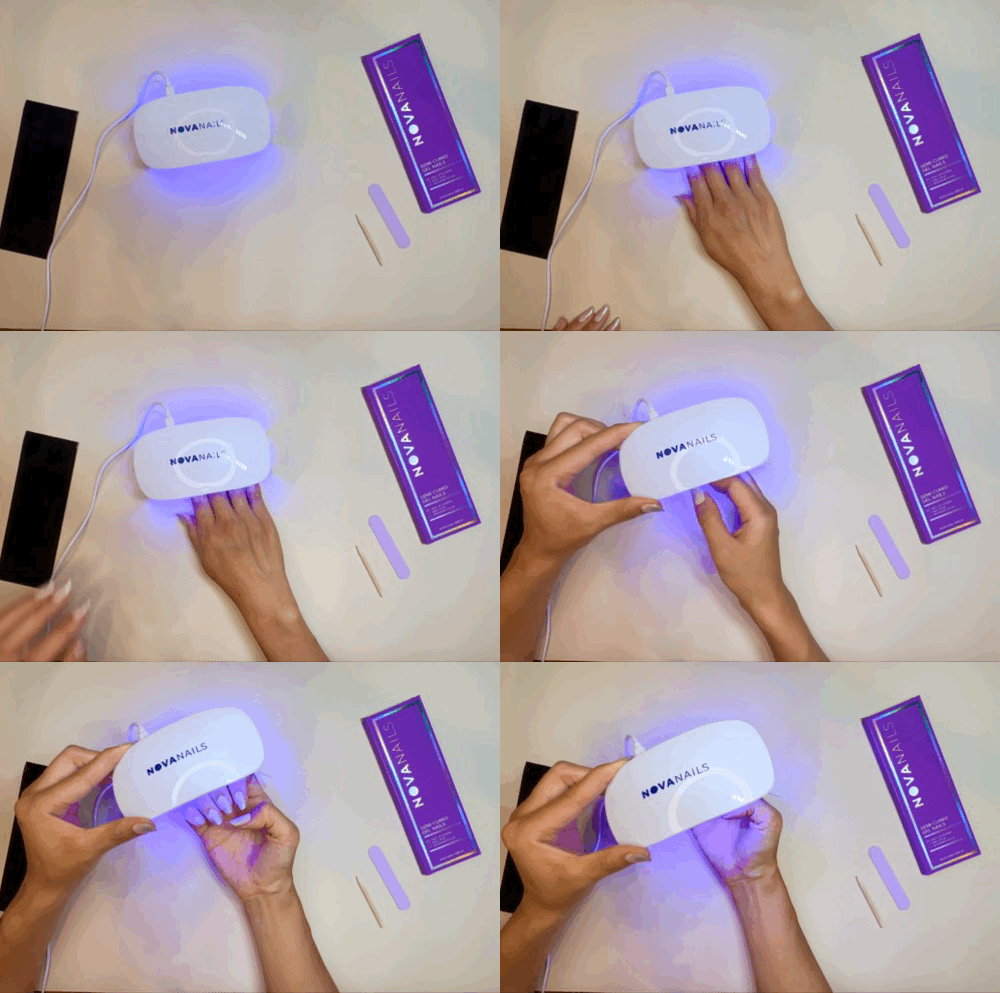
6. Cure your nails!
Press the "ON" button on our Nova Nail Lamp and place your hand under the light for 1 or 2 cycles (~1 minute). The curing process will harden the gel sticker completely!
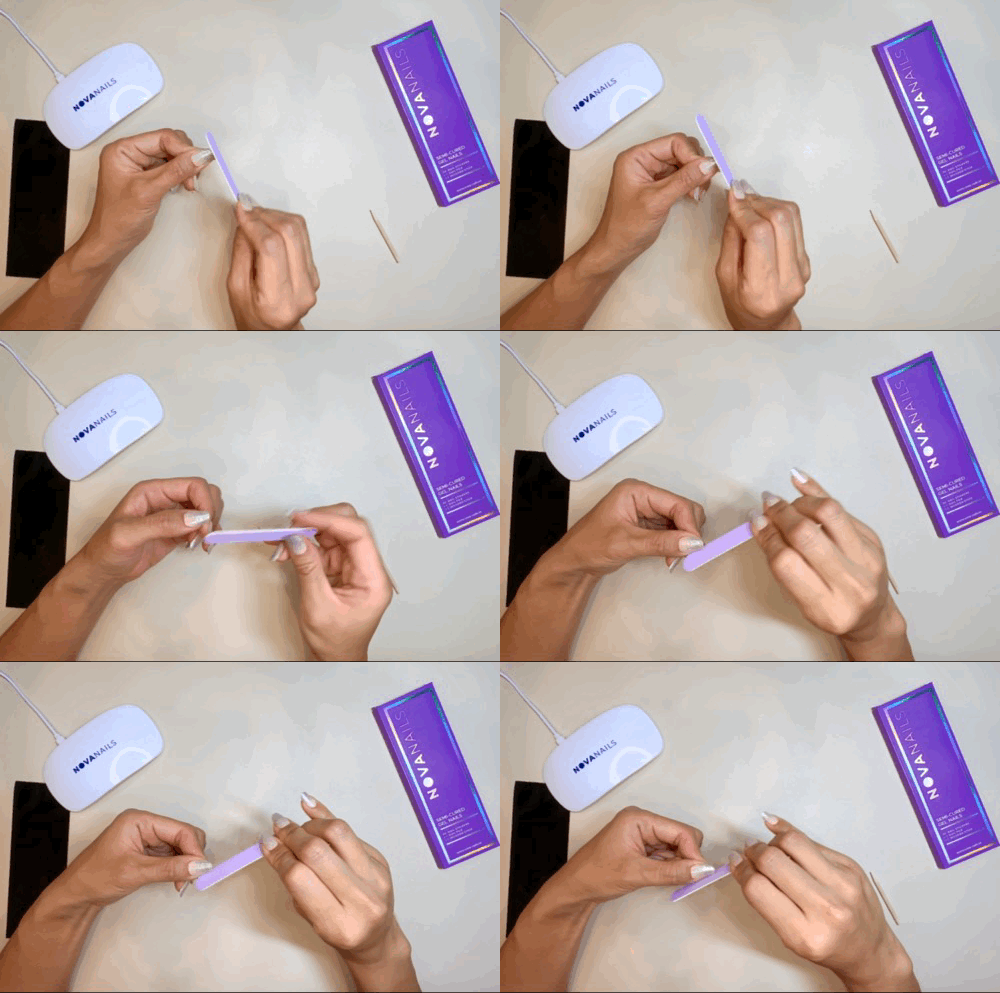
7. File your nails.
Smooth out the nail edges using a nail file for a flawless finish!
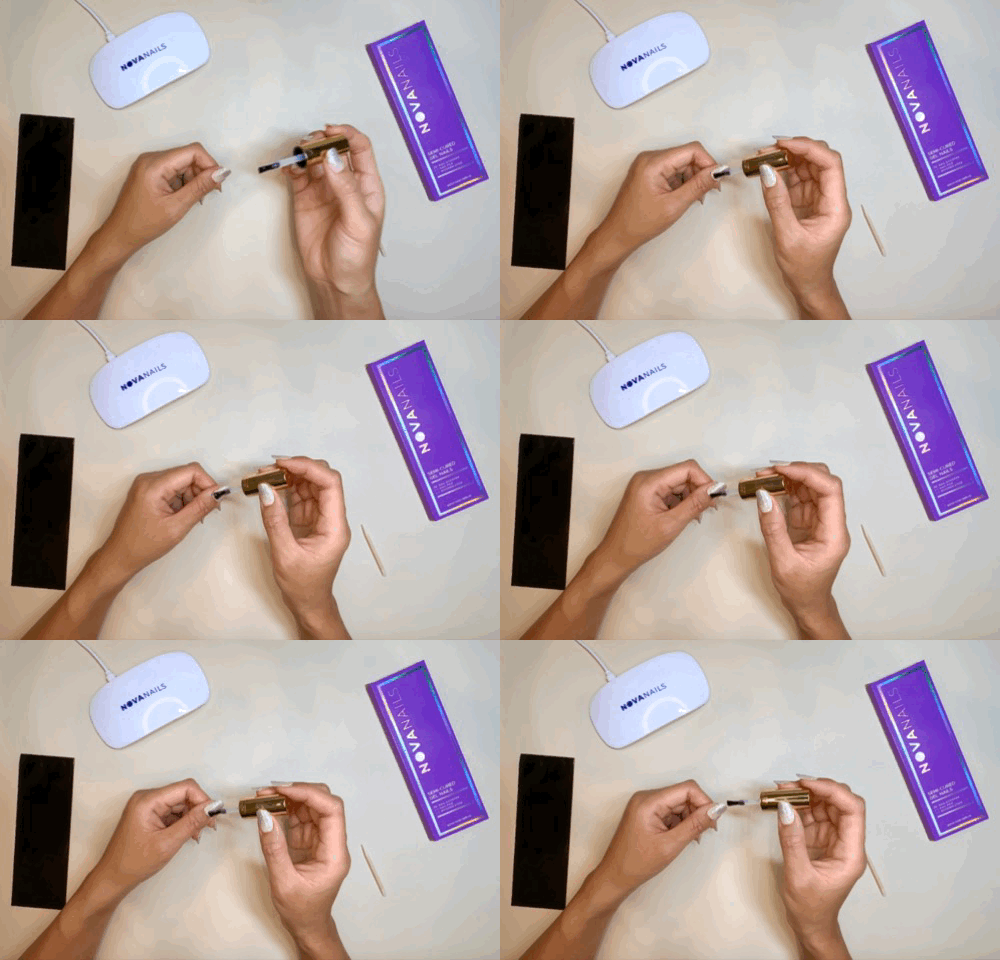
8. Optional top coat application.
We highly recommend applying a layer of gel top coat for a longer lasting finish!
⭐ ALL DONE! ⭐ You've given yourself a strong, glossy gel nail manicure for a fraction of the time and money. Shine bright, starlings!

